Spring Cleaning Tips: How to Organize and Declutter Your Home

Spring is a time for new beginnings. It's a time to clean out the old clutter and make way for new beginnings! If you're looking to get your home organized and decluttered, then you've come to the right place!

Spring Cleaning Checklist

First and foremost, make a plan! This is probably the most important step in getting your home organized. You need to know what you're going to do and where you're going to start. Once you have a plan, it will be much easier to get started and stay on track.

If you're not sure where to begin, start by decluttering one room at a time. This can feel overwhelming, but it's definitely doable if you take it one step at a time. Tackle one room at a time and give yourself plenty of time to get the job done. I recommend creating four piles: keep, donate, sell, or trash.

Another great way to organize your home is to create designated zones for each activity. For example, have a specific spot for your mail, another area for toys, and so on. This will help keep everything organized and easy to find.

Don't procrastinate! The longer you wait to tackle that mess in the corner or clean out those closets, the harder it will be.

Cleaning Products Checklist

When it comes to spring cleaning, having the right supplies on hand can make all the difference. Here are some must-haves that will help you get the job done quickly and easily:

- A good vacuum cleaner: This is essential for getting rid of dust and dirt. Make sure you have a model that's suitable for your needs. My favorite is the Bissell Cleanview Rewind. This vacuum cleaner is AMAZING if you have dogs! My pups are short haired but this thing picks up ever little strand!

- A dust mop or duster: These are great for getting into those hard-to-reach places. I love to use my Swiffer after I vacuum and I follow that up with a good ole fashioned wipe down with my O-Cedar mop. This winning combo deep clean leaves my floors squeaky clean!

- A good all-purpose cleaner: This will come in handy for cleaning just about everything.

- A window cleaner: Keep your windows looking shiny and new with this handy tool.

- Furniture polish: Give your furniture a fresh coat of polish for a polished look.

- Carpet cleaner: If you have carpets, it's important to have a good carpet cleaner on hand. This will help get rid of any stains or dirt that's been ground into the fibers.

When it comes to spring cleaning, there are a few essentials that you'll want to have on hand. Vinegar, baking soda, lemon, essential oils, and microfiber cloths are some of my favorites! These items can help you clean just about everything in your home.

For more spring cleaning tips, check out our other blog posts! We have plenty of helpful advice that will make getting your home organized a breeze. Happy spring cleaning! :)

Cool Car Gadgets You Need for Your Vehicle

If you're like most people, you spend a lot of time in your car. Whether you're driving to and from work or taking road trips, your car is an important part of your life. That's why it's important to have the right gadgets and accessories to make your time in the car more enjoyable. In this blog post, we will discuss some of the coolest car gadgets on Amazon that you need for your vehicle!

One of the coolest car gadgets on Amazon is the Portable Car Jump Starter. This device is perfect for emergencies, and it can jump start your car up to 20 times on a single charge! If you're ever stranded on the side of the road, this gadget will be a lifesaver.

The Cleaning Gel is the perfect solution for those hard-to reach spaces. This product can be used on car air vents, steering wheels and consoles as well!

Another must-have for your car is the Car Phone Holder. This holder attaches to your car's air vent and holds your phone in place so you can use it as a GPS or for hands-free calling. It's a great way to keep your phone safe and within reach while you're driving.

So what are you waiting for? Add these cool car gadgets to your Amazon shopping list today!

LEOPARD PRINT CAR COASTER

Like riding in style? Frugal Fashionista offers an array of car cup coasters perfect for keeping your cup holders so fresh and so clean clean.

iPad Pro Journey Day 1

Over the last 6 months, I have worked very hard and have been very blessed with sales. That work has allowed me to achieve yet another goal for my small business….purchasing an iPad Pro.  My reasoning behind setting this goal was, with an iPad Pro and some additional software; I will begin the journey of learning how to design my own graphic images.  I already make simple designs using silhouette software, but I’m always looking to step up my game and excel in any way I possibly can. In addition, I used to LOVE to draw. I was actually quite good at it.   However like with many things in life, I got older and busier and didn’t set time aside for drawing. Getting back to drawing will allow me to love my small business even more by creating pieces of unique digital art that can be displayed in many ways.  I’m hoping that as I move along in this learning journey, I can share my experiences with you. Perhaps you are a beginner as well. Perhaps you are considering the same type of purchase for similar reasons, or maybe you just need some entertainment. At any rate, I’ll try my best to share my journey with you.

ipad.jpg

I was in luck that the new 2020 iPad Pro was just released and was on sale.  I purchased from Amazon and approximately 4 days later, this 12.9-inch beauty arrived at my doorstep.  I also purchased the Apple Pencil from Amazon. It shipped and delivered in 2 days. Praise Amazon Prime! Not going to lie, unboxing the iPad made me feel like royalty.  Nerdy vibes were high that day. The crisp white packaging, simplistic yet modern, stole my heart.  

I am already an Apple user, which made setup incredibly easy.  There were just a few simple steps to follow, after which the iPad was able to connect to my iPhone and that was basically all she wrote.  There were a few steps that I choose to skip over like setting up Apple Pay, etc. I don’t feel that I will need those, and if I do, they can be updated at a later time.  Once everything was up and running, my next step was to install an app called Procreate. Why Procreate? After much research, I feel that Procreate is a very popular tool that several designers use.  It appears to be user friendly and there is plenty of tutorials available online. The best part is the price. It’s just $9.99. From what I understand if there are any updates that are made after your purchase, that update is included in the $9.99 fee you have already paid.  I priced other software companies and this was a great deal less expensive.

YouTube Tutorial.jpg

My first project was a guided YouTube tutorial from Art with Flo.  I chose this video because she starts off by saying, “Anyone can draw this”.  I took that challenge and was pleased with the end result. I did have to stop the video and replay in different sections, as I felt she went too fast for me as a first time user.  The only spot that I hit a snag was when I needed to download the two free brushes from her website (thank you for that btw) and get them installed onto the iPad. I ended up installing them on my laptop and moving them over to dropbox.  I then opened the Dropbox app on the iPad and easily installed the brush by just clicking on the file I wanted. I should have timed myself on this first drawing, but unfortunately, I did not think of that. For the very first project, I would say it went well.  I have put my finished product below for you to see. I plan on trying more of her tutorials to continue to learn the app. I have also posted links below for the iPad Pro and Apple Pencil. As always thank you for visiting the website and reading the blog. Feel free to leave a comment below and if you enjoyed this post please show some love by clicking the heart below.

91764957_218051572738646_9162253471116689408_n.jpg


Our Pantry Went From Hot Mess To An Organized Success! Product Review & Storage Tips

By: Toni Hetrick

A few days ago, I opened the pantry door and said, “THAT’S IT!”.  I can’t continue to open this door and pretend that it doesn’t look like a hot mess inside.  Hopefully I’m not the only person with a messy pantry.  As I stood in front of the pantry, head bowing in shame, it hit me that this pantry has only been organized maybe twice in the last six years.  When I say organized, I mean everything pulled out and completely sorted, then put away neatly in its own little space.

I feel like this is one of the areas of a home that is out of sight, out of mind.  The chore of grocery shopping is large enough, so once I get home from that treacherous soul sucking trip, I just want to get everything unloaded and put away as quickly as possible.  I have avoided organizing this pantry, I mean who wants to do that? There’s nothing about that situation that sounds like fun to me.  At any rate, I reached my breaking point and decided to get my act together.  I needed to step up and adult on this one.

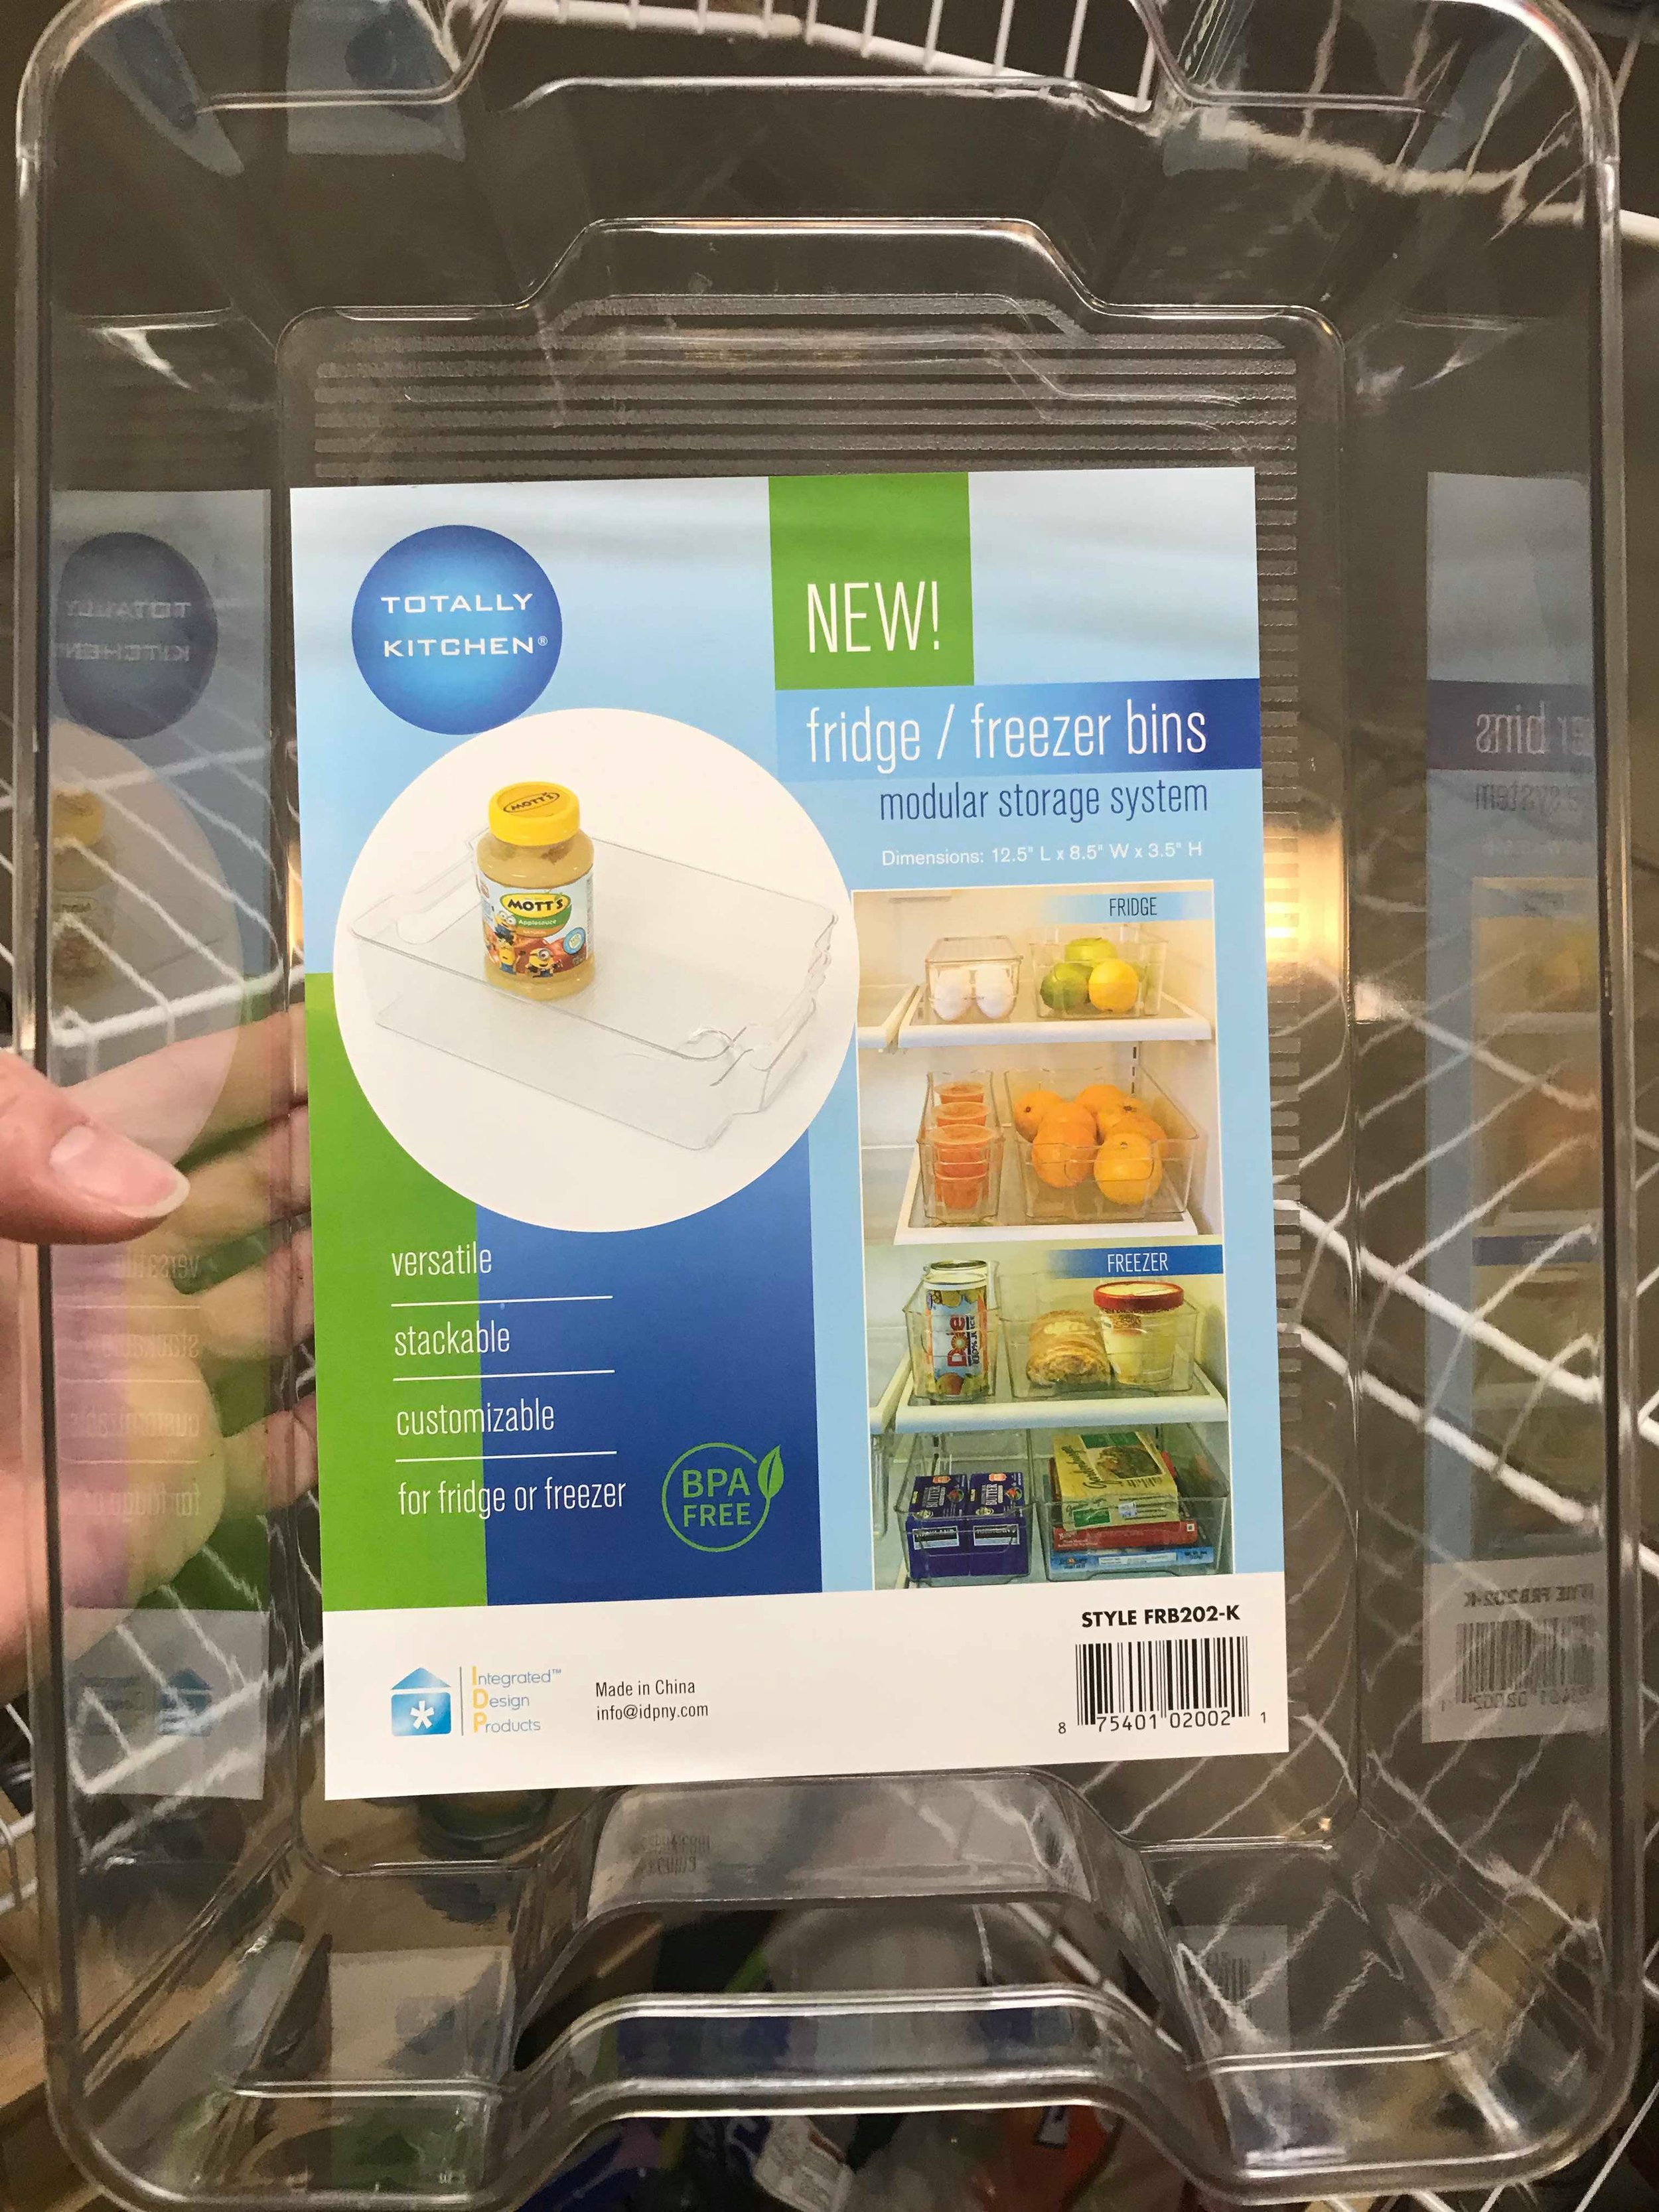
When I think of an organized system, I think of containers.  I feel like containers would work especially well sitting on the slotted racks in the pantry.  It’s annoying to have for example a bag of rice that won’t stand upright due to those racks.  After some searching, I decided to purchase these fridge & freezer safe, BPA free bins.  They are made by Totally Kitchen and come in a variety of sizes.  They are versatile and can be stacked.  As soon as I saw them, I knew they would do the job.  I LOVE the fact that they are freezer safe.  I see a freezer organizing project in my near future.

These are the storage bins I chose. I LOVE them!

These are the storage bins I chose. I LOVE them!

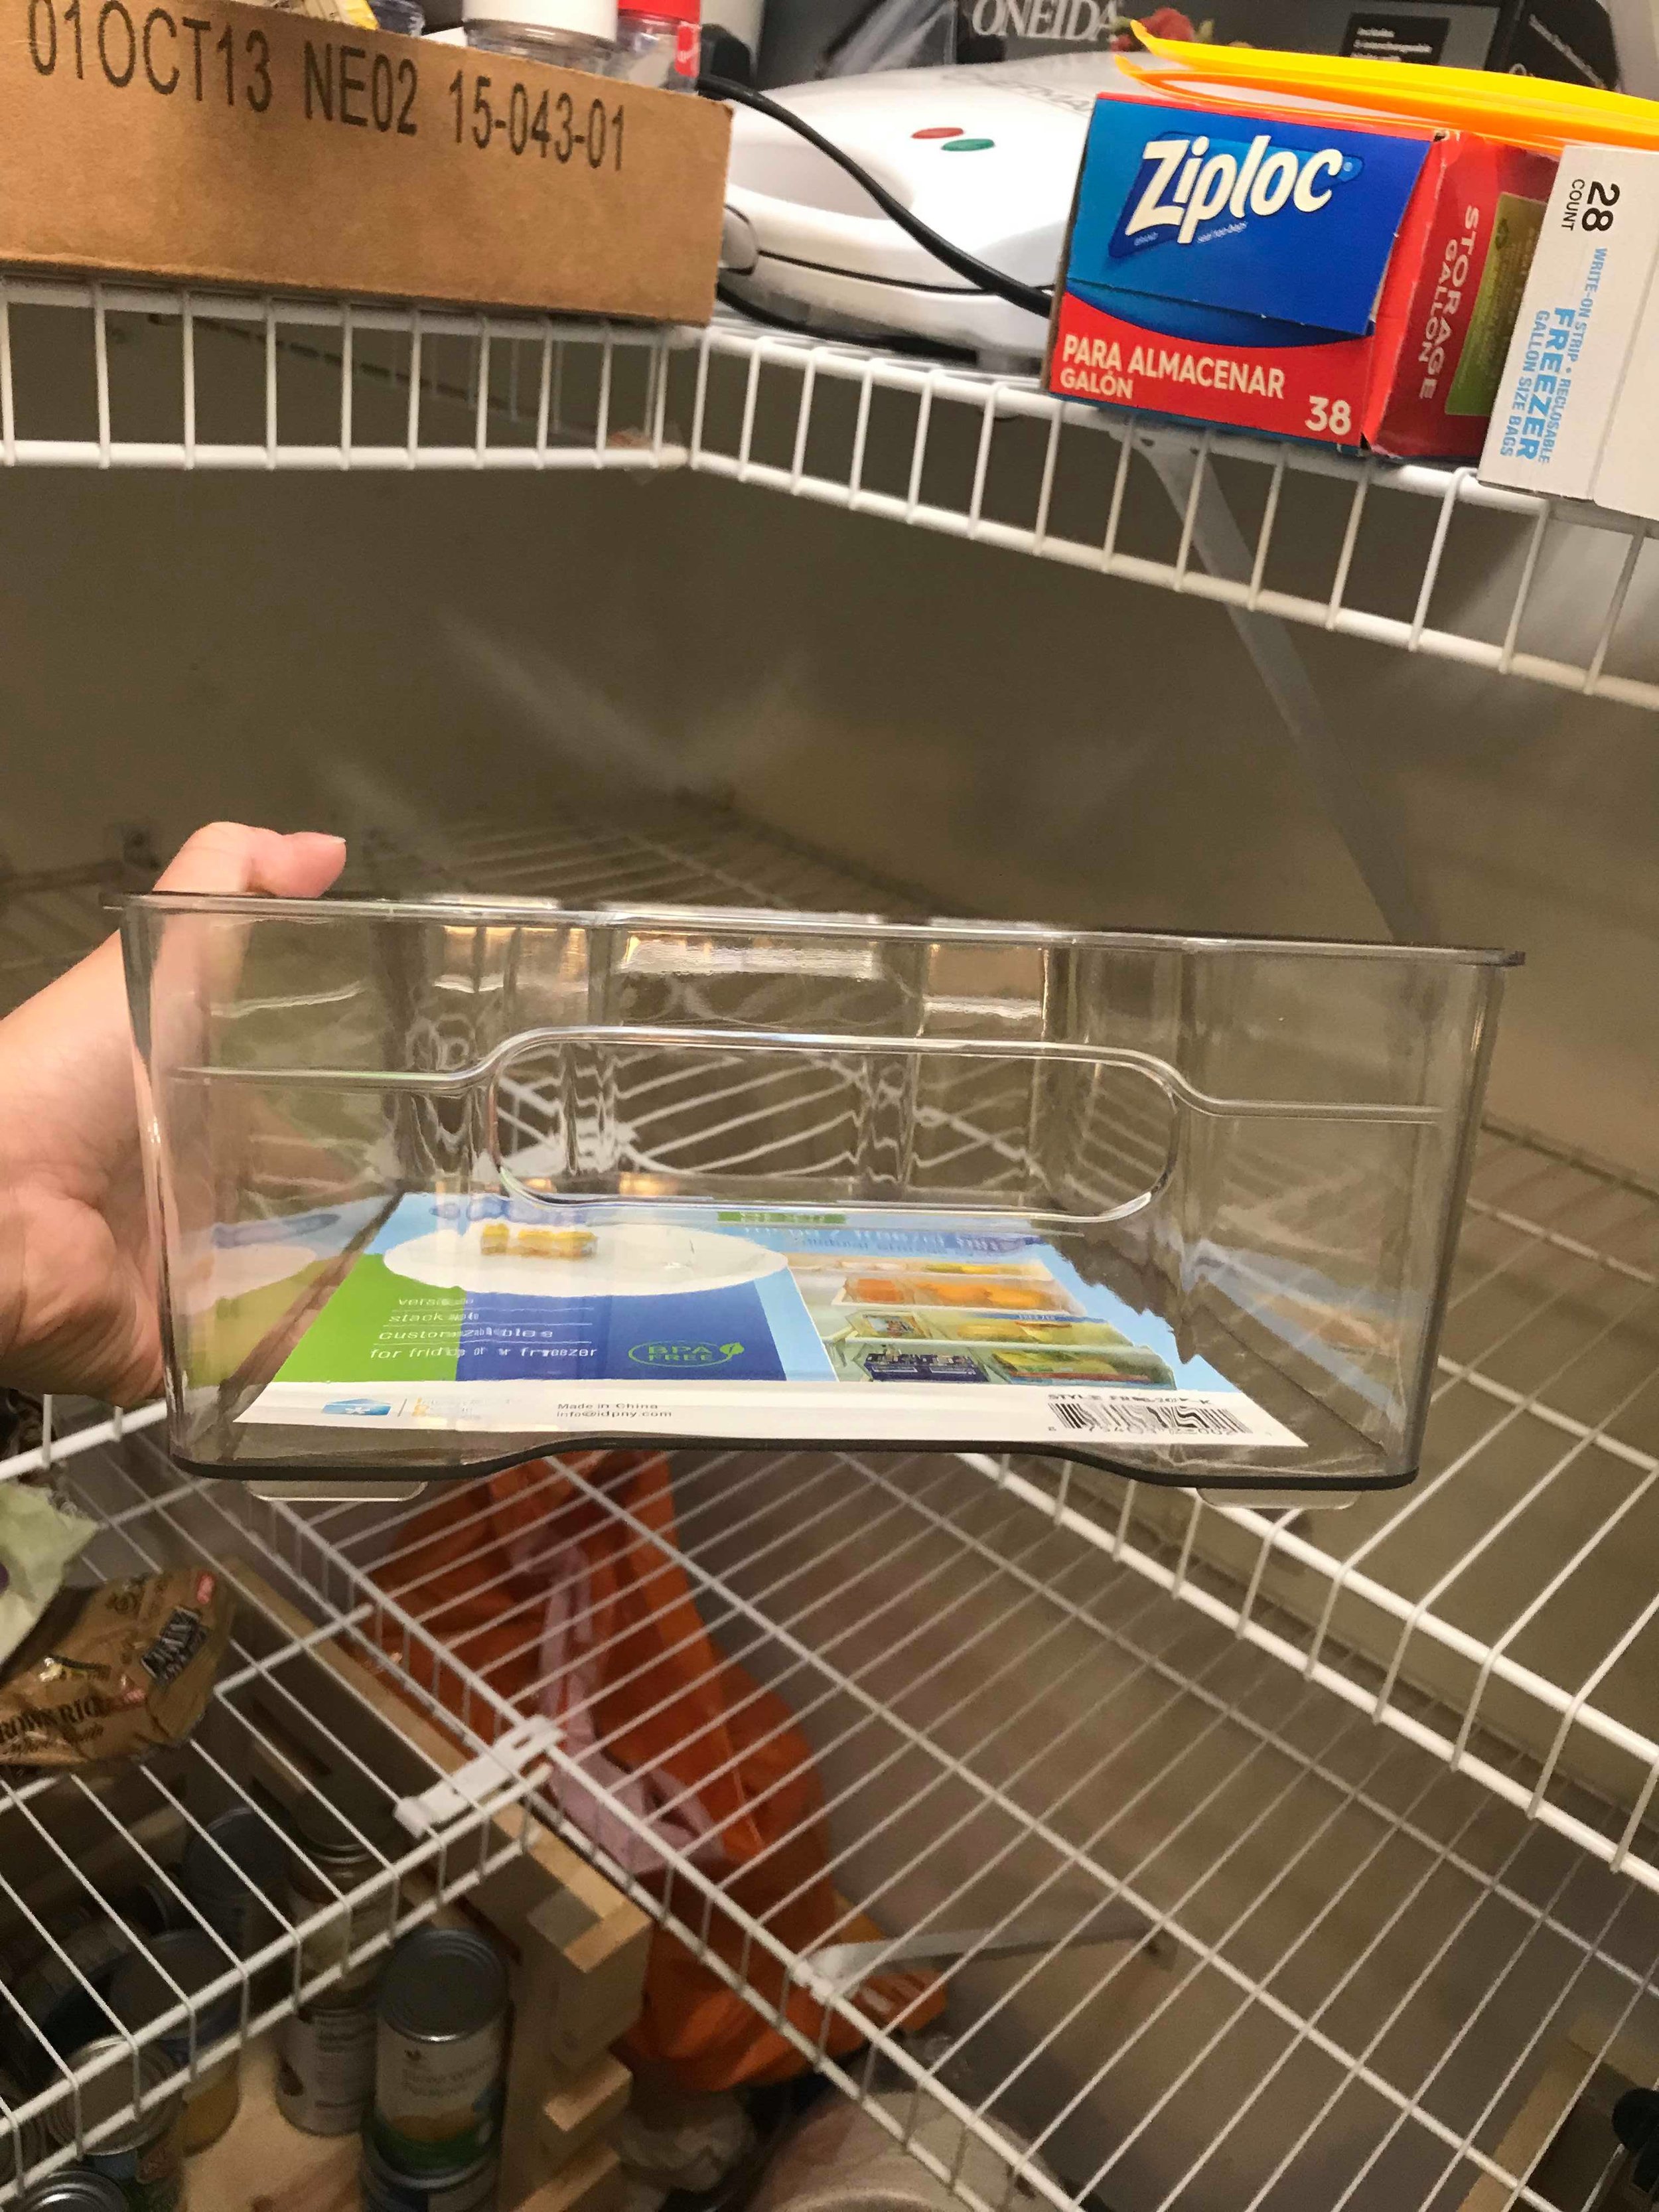
These have a little handle area so that you can easily pull them out.

These have a little handle area so that you can easily pull them out.

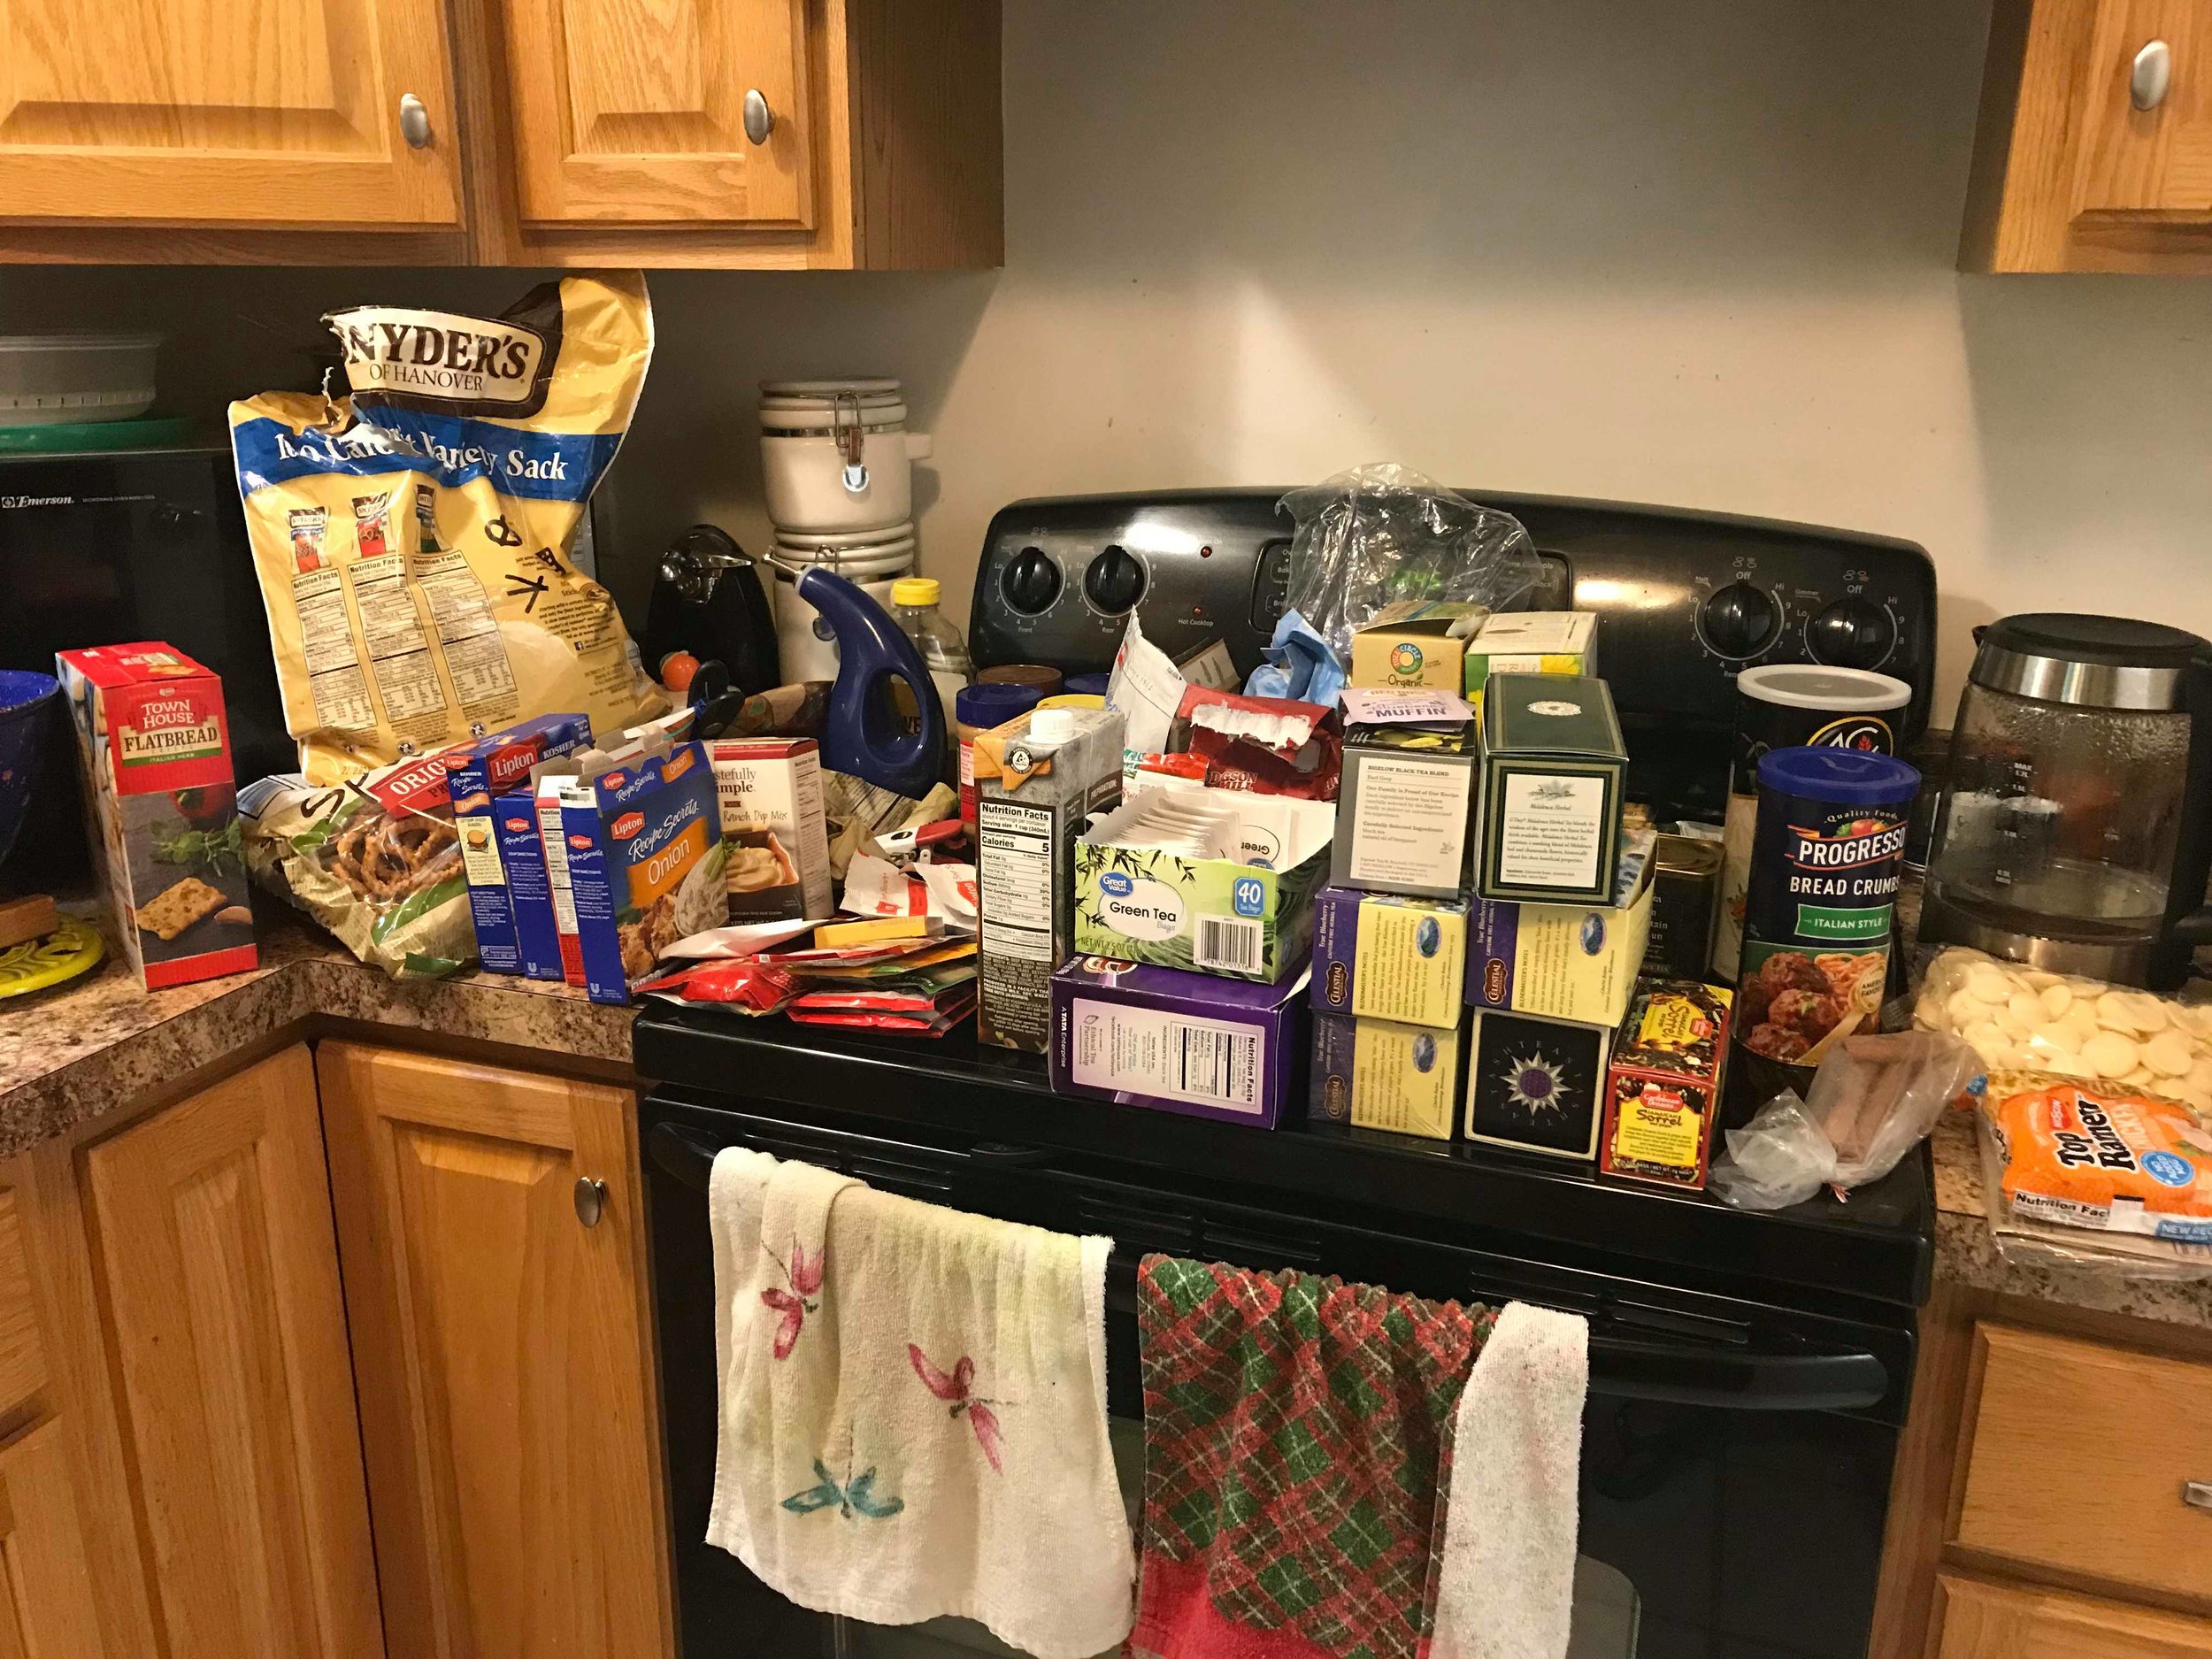
Once I had all my containers, my first plan of action was to pull everything out of the pantry.  I got rid of anything that had expired or that I felt I simply won’t use.  As a person who has been paying closer attention to their budget, it was eye opening to see the items that I had hidden in the hard to reach places that had expired.  NO MORE!  Next was to pull all individually packaged items out of their boxes.  I threw out those boxes and sorted everything into categories.  EX: granola bars, crackers, baking items, etc. This step was a little intimidating.  Our stove and part of our countertop was completely covered, but once I got started, I was on a roll.

Organizing this hot mess!

The next phase was to find the perfect container for each category.  Once that was established it was smooth sailing.  Everything now has its own little home.  Clear containers for easy visibility.  Everything is now grab and go.  This should make things easier to find for those husband eyes that can never seem to find anything.  I think this will also shave a few minutes off my morning prep time when I’m rushing to pack a lunch for work.  Even though it’s not necessary, I decided to make labels for each container.  This makes my crafting heart smile. 

Now for the reveal you’ve all been waiting for…… the before and after pictures.  It might still be a little busy but I’m very happy with the result.

Before and After
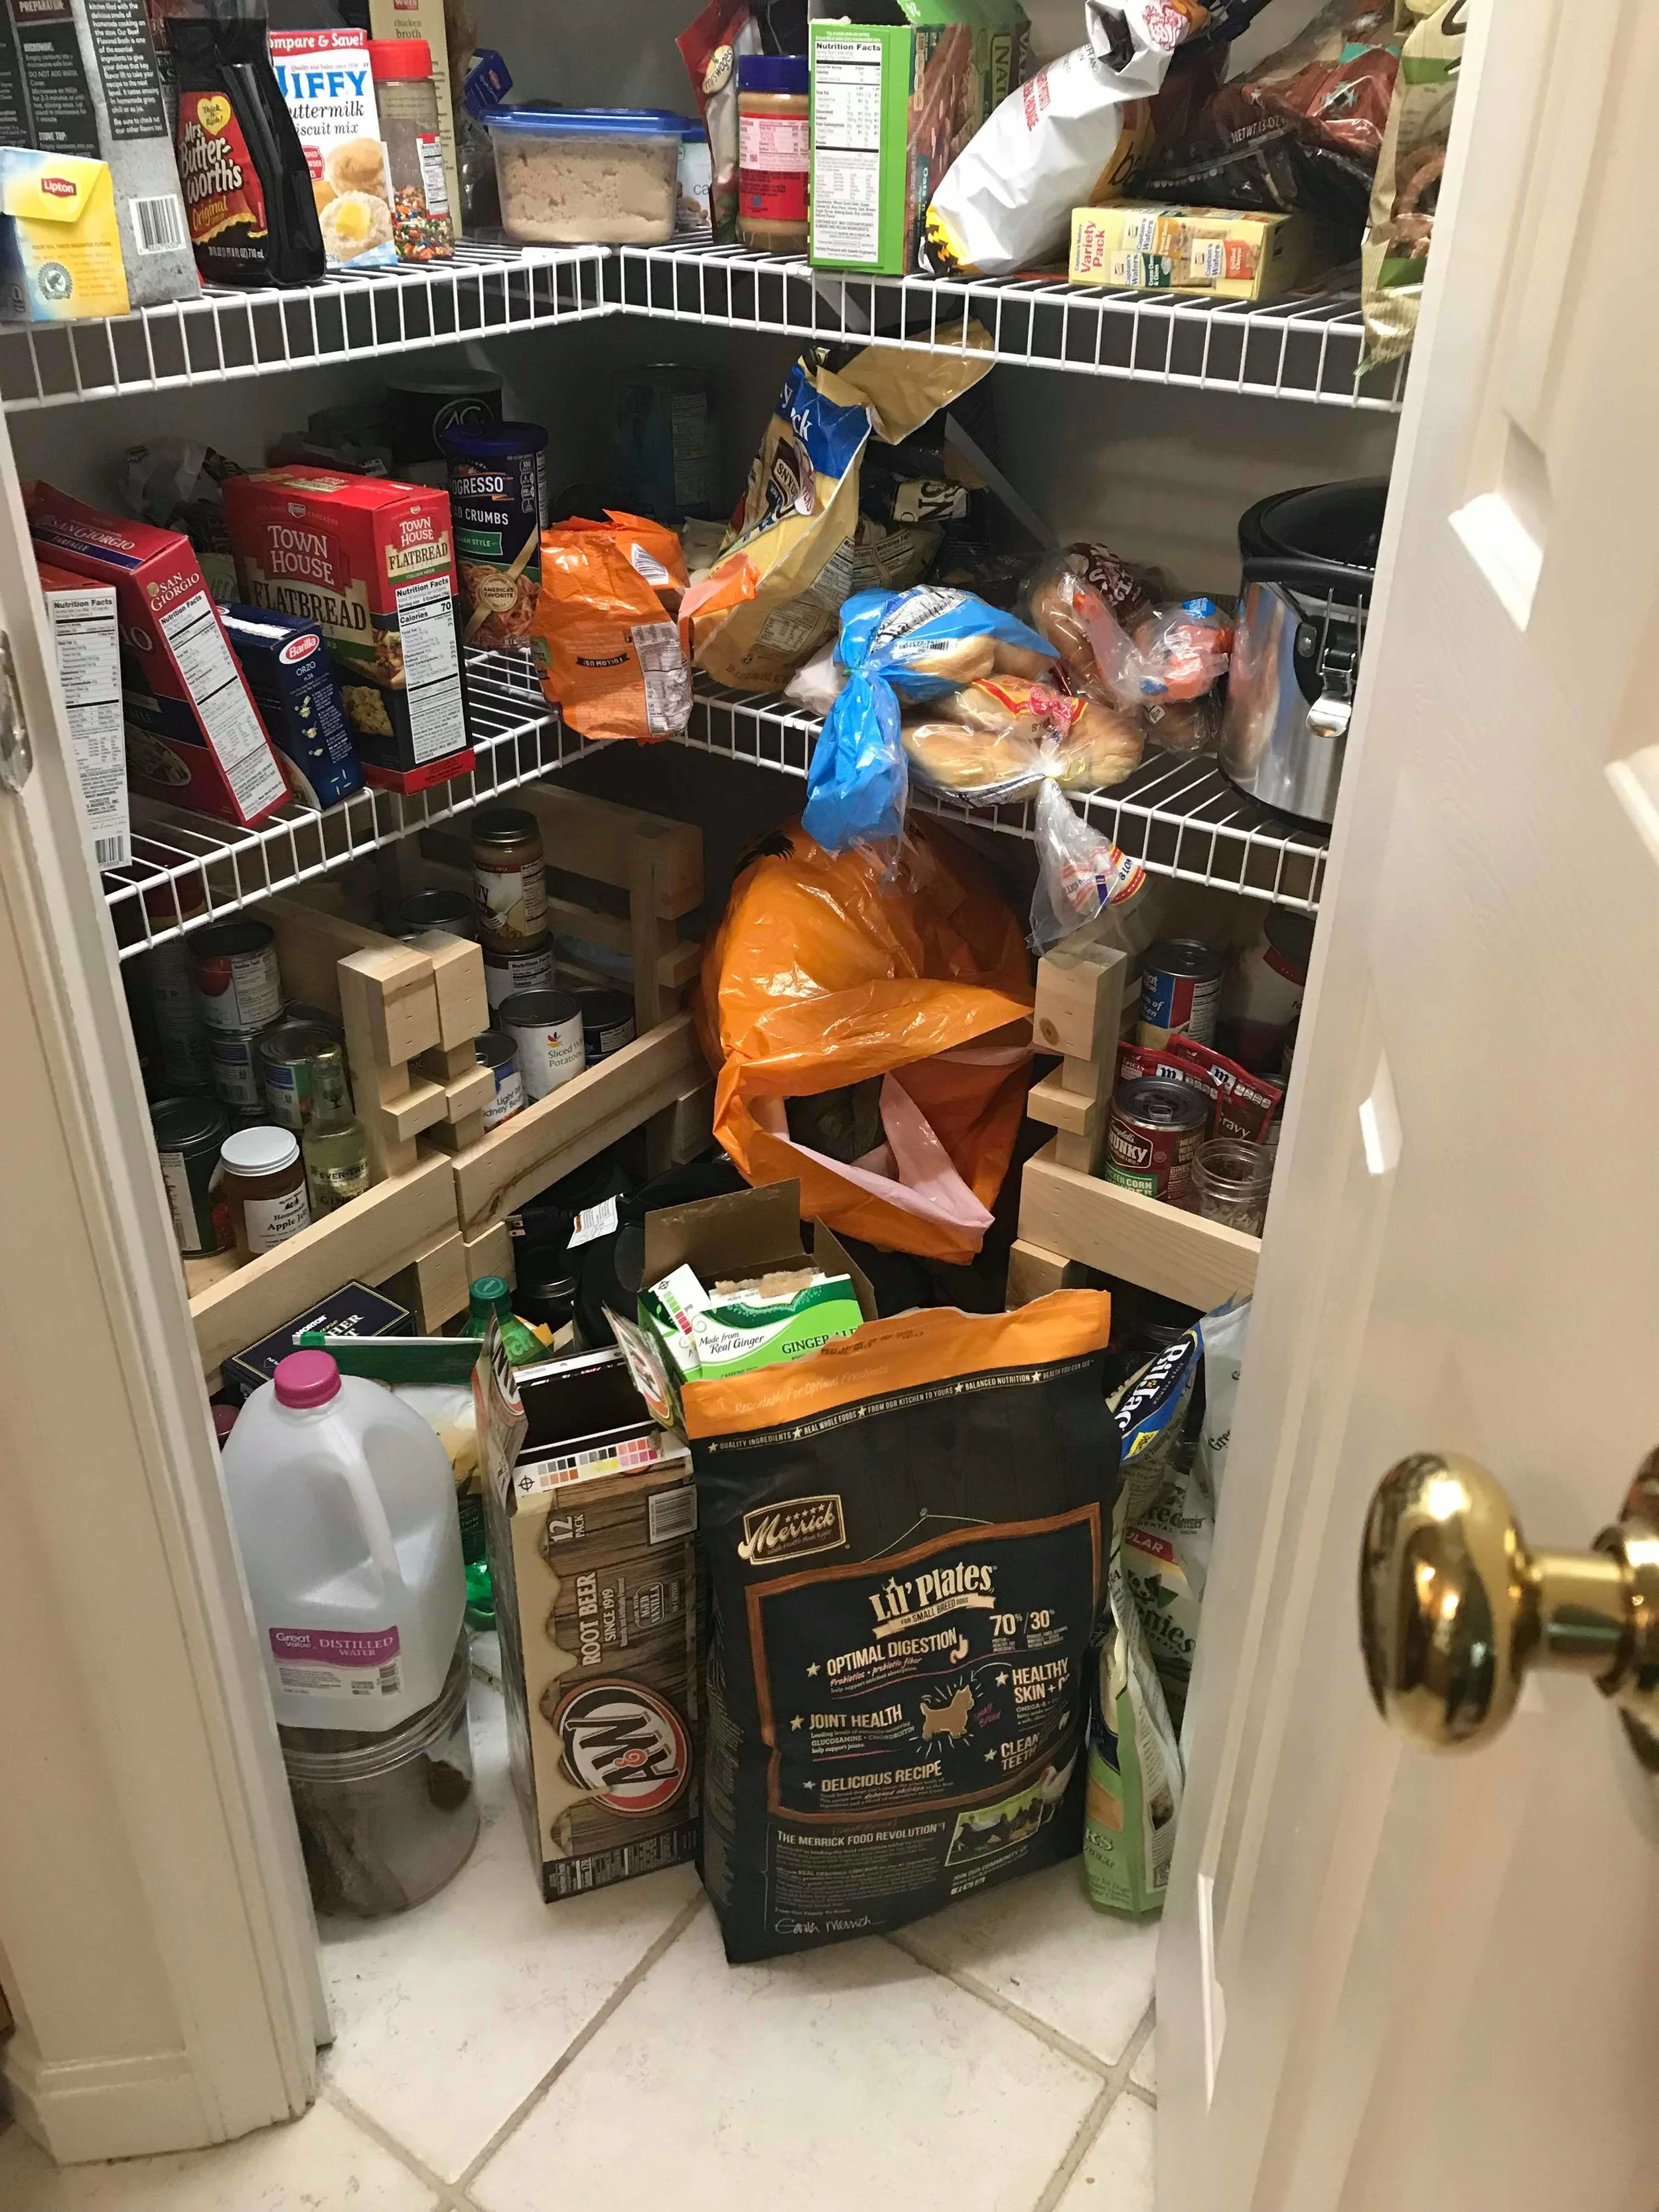
Ugh here’s my embarrassing before picture. Don’t judge!

Ugh here’s my embarrassing before picture. Don’t judge!

Another horrible before image.  Eeek
Here’s a proud after picture. :)

Here’s a proud after picture. :)

An organized pantry makes me happy. If you see where the tea is I have stacked two containers. Talk about a space saver!

An organized pantry makes me happy. If you see where the tea is I have stacked two containers. Talk about a space saver!

I LOVE these containers!

I LOVE these containers!

Here are my baking supplies tucked away in their new container home. :)

Here are my baking supplies tucked away in their new container home. :)

If you are interested in purchasing these containers for an organizing project of your own, I have provided a link to them below. Please note we may receive a small commission if you purchase using our link. I personally love these containers so far. I think they will serve a purpose for a long time and have certainly helped in taming the crazy pantry. If you have any questions please feel free to comment below. As always thank you for reading!

Outward Hound Slow Feeder Dog Bowl Product Review

Hi, I’m Lincoln!

Hi, I’m Lincoln!

Hello my name is Lincoln. Even though I am completely spoiled and fed on a regular basis, I eat every meal as though it’s my last. Inhaling every last crumb in record time…..

Because of Lincoln’s eating habits, we decided to purchase a slow feeder dog bowl. Our concerns were growing that she’d choke on her food or worse. Aside from feeding her a small piece of food at a time, we couldn’t seem to stop her from scarfing down her food. Then this glorious dog bowl came into our lives. I decided to do a product review, because this item is a MUST HAVE if you have a speed eating dog. For the full review, please watch the video below.

I hope you find this review helpful. As promised, below is a link for the specific feeder we purchased. If you would like to purchase one or learn more, simply click on the image and you will be lead to the product on Amazon. You may also be wondering what the delicious looking food was in her dog bowl that was featured in the YouTube video. That is my homemade dog food, and the recipe was featured on the blog not too long ago. If you missed that blog post you can read it here.

Feel free to comment below if you found this review useful and make sure you click the little heart to let us know you visited the blog post. Stay tuned for more product reviews in the future. If you own a business and would like for me to do a product review please contact me and I will get back to you as soon as possible.